
These are seriously good and sometimes the only thing that will hit the spot. It’s basically any kind of Salad stuffed inside a Pita Pocket with added Meats, Cheese, and Sauces. In this post, How to make a Pita Pocket Wrap, I tend to follow the way Pita Pit makes theirs, and it’s a very good method for making Pita Pocket Wraps. Sometimes I deviate, but in general this is how to make a Pita Pocket Wrap.
Pita Wrap Order of Assembly
No matter the type of Vegetables, Sauces, or Meats being added, the entire Pita wrap is assembled once all the ingredients are ready and in the following order. You can check out the YouTube video by Pita Pit on how they make their wraps at How to Build a Pita.
- Pita Bread, steamed and opened up 40% of the way
- Thick Sauce spread on the bottom, such as Hummus or Guacamole.
- Vegetables or Salads
- Tzatziki is always on the flap if adding
- Cheese
- Sauces with Salt & Pepper or other seasonings
- Meats
- Roll it up
Pita Bread
Either Store bought or Homemade Pitas can be used. In the Homemade Pitas, there are instructions on how to get the Pita to puff so that it creates a pocket. In short, it is exposing the pita bread to high heats, whether from pan frying or in the oven.


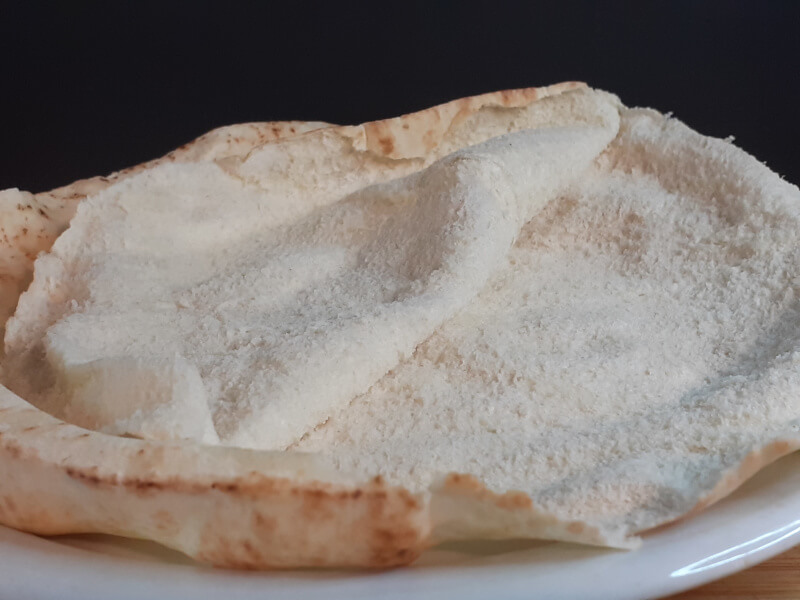
Steamed Pita Bread
With already cooked and cooled Pitas or store bought Pitas, steam them a few seconds to soften them and tear them open along the edge about 40 % of the way. Then gently open the Pita up so that a pocket is created to stuff all the goodies in.
The steaming should only take a few seconds and just until softened. I usually just place some water into a Double Stack & Steam cookware set, and steam on max heat for a few seconds. Tear long the edge to about 40 % and open the Pita up for the pocket.

Sometimes when opening the Pita bread up, you will accidentally tear it. Try to keep the tears on the top flap of the eye side of the pita bread. The eye of the Pita is the light-colored side. The dark color side should be the bottom layer or the outside wrap.
Paste
Spread Guacamole or Hummus on the bottom Pita inside the pocket with the desired amount.


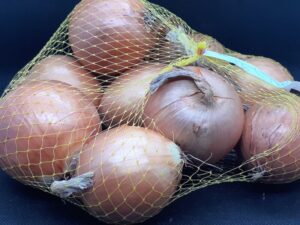
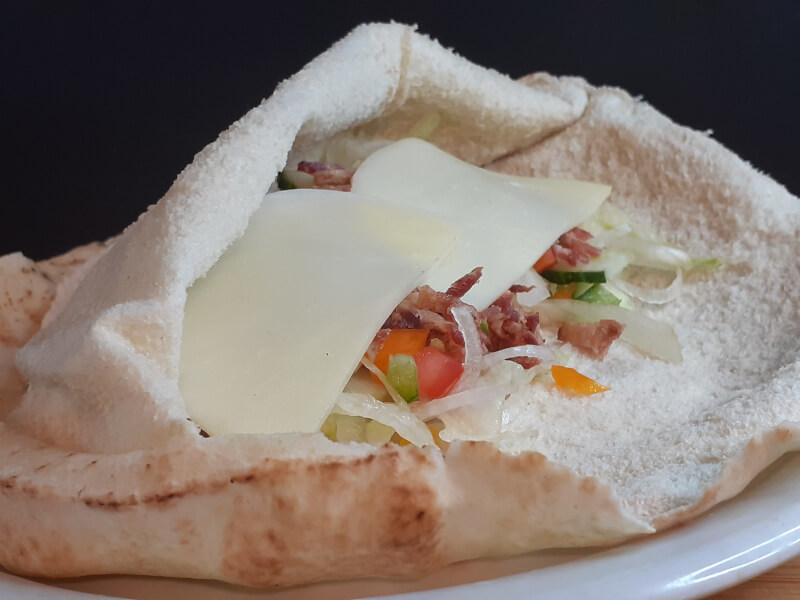
Vegetables
Add in your choice of Vegetables right in the middle of the Pita. Don’t stuff the Pita Pocket, place everything in the middle zone of the Pita. These can be a select choice of Vegetables or a Salad. Especially when making this at home, you can just toss in all the Vegetables together and stuff the Pitas.


Top Flap
The top flap of the Pita bread is reserved for Tzatziki and to be included for additional sauces to be drizzled over.

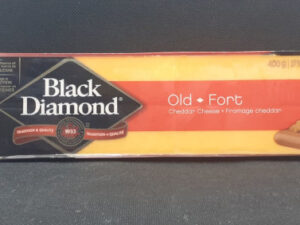
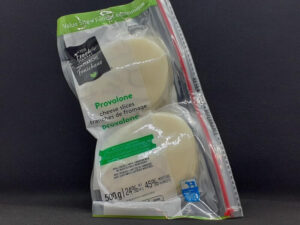
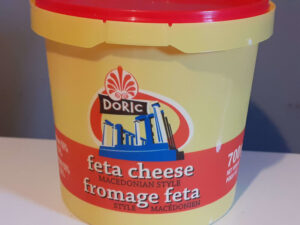
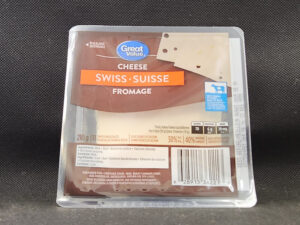
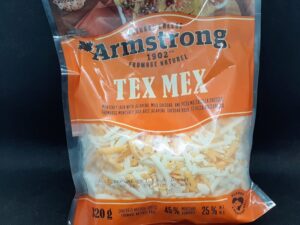
Cheese
Add in your choice of cheese for the particular wrap you are building. If it’s Provolone or other sliced cheese, slice them in half to fill out the wrap.

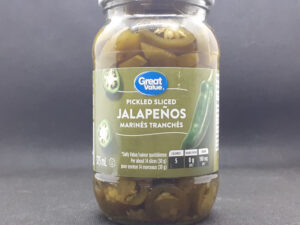
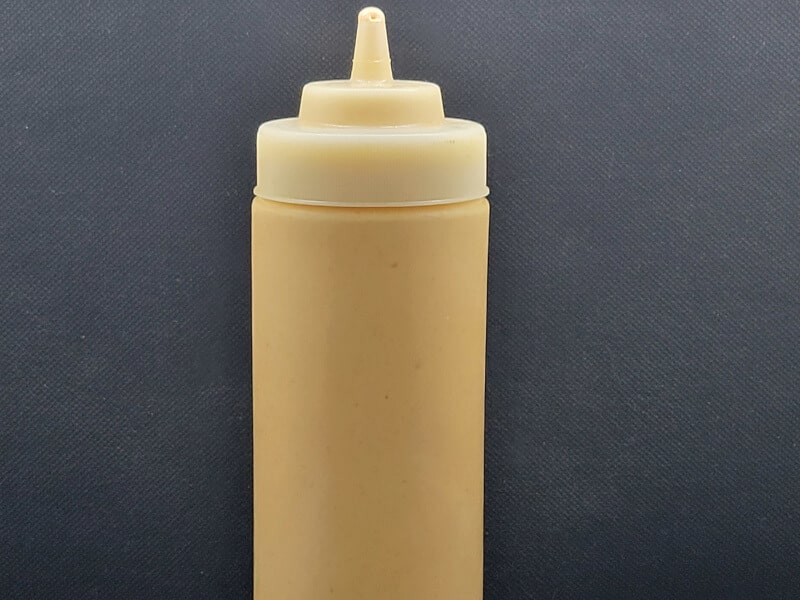
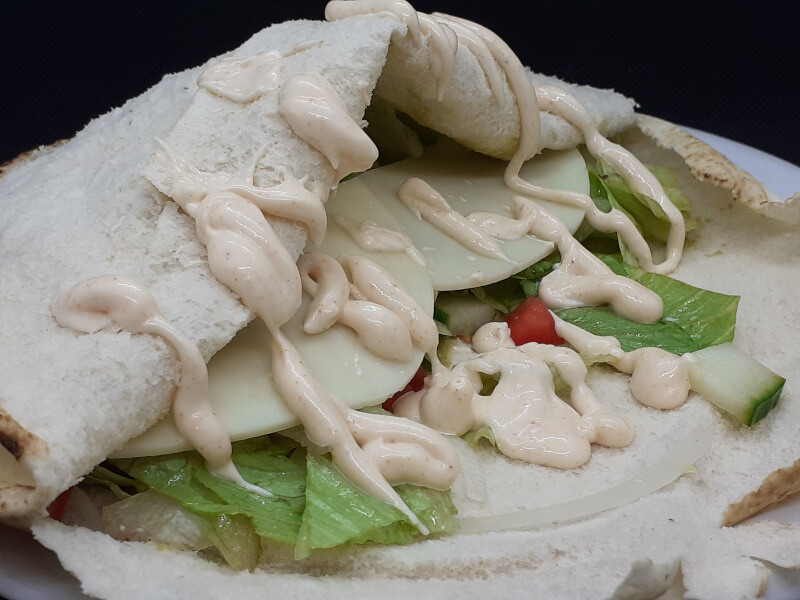
Sauce
Thin sauces like a hot sauce can be squeezed on the side of the filling towards the pocket. While Thick Sauce should be squeezed, zigzagging across the filling and top flap of the pita bread. Any sauces you choose to make, place them into a squeeze bottle for easy drizzling over the wraps and for easy and quick storage by placing them in the fridge when not being used.
Salt & Pepper
Add Salt & Pepper here as desired. This can include other seasonings, such as Rotisserie Seasoning for a Rotisserie Chicken Wrap or other seasonings. Most times the basic Salt & Pepper blend will do. Combine teh below for a Salt & Pepper blend.
- 1 Tbl Sea Salt
- 1 tsp Black Pepper
- 1/2 tsp White Pepper or Black Pepper

Meat
Finally, the meat goes on last. Either Cold Cuts or Hot meats can be added, including 1 or 2 Kebabs, depending on what type of wrap you are making. Altogether, a portion size of meat is about 1/4 lb or between 90g-114g. You can certainly add more or less.
How to Fold a Pita like Pita Pit
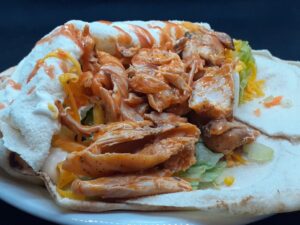
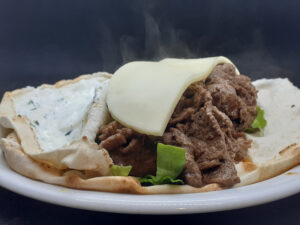
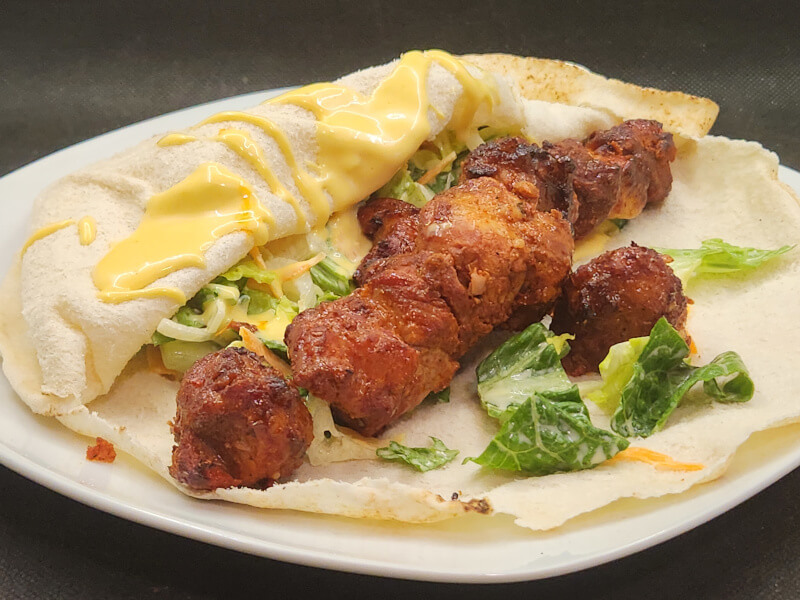
Step-by-Step Instructions with pictures to have you building a Pita Pocket Wrap like a pro. I sometimes get these mixed up, because I don’t have it all laid out in front of me like a make line. But there is a reason why they are in that order. For example, the Cheese is followed by the Sauce so that when the meat goes on. It warms the Cheese & Sauce. The sauce, right in between the vegetable and meat, acts like a dressing serving both the vegetables and meat. The below images are from different wraps to illustrate the focal point.

1~ Steam the Pita
Steam the Pita Bread just for a few seconds to soften it and open the edge about 40 % to create the pocket. If there are tears in the Pita bread, place the side with the most tears facing up. I steam both sides since this is not a commercial steamer. Use tongs to flip the pita over.
2~ Open the Pita
Immediately open the edge about 40 % to create the pocket. If there are tears in the Pita bread, place the side with the most tears facing up.

3~ Spread the Paste
Spread Avocado/Guacamole or Hummus on the bottom Pita if adding.

4~ Vegetables
Add your choice of vegetables right in the power zone or middle section.

5~ Tzatziki
Optionally Spread Tzatziki Sauce on the top inside flap if adding in.
6~ Cheese
Include whatever Cheese you like. Cheddar, Mozzarella, Provolone, Monterrey Jack, Swiss or other kinds.
7~ Sauce
Add your choice Sauce across the filling and top flap. Optionally add Salt & Pepper or other seasonings.

8~ Meat
Place the meat on last. About 114g or a Quarter pound of meat. Spread the meat out evenly.

9~ Tuck & Roll
Tuck in the top flap and push the filling towards the bottom and Roll the Pita Bread Tight. Serve right away, or wrap in waxed paper to serve later.
Salad Stuffed Pita Pocket
Another way to do this is to combine everything into a Salad and then just stuff the Pitas. The picture below has all the ingredients including the Chicken & Cheese for Caesar Salad stuffed into the Pita for a Chicken Caesar Salad Pita Wrap.

Pita Pocket Wrap Ideas
Check out our collection of Wrap recipes! Set up a weekly Wrap it Wednesday meal and enjoy a new wrap every week. Want other weekly meal Ideas? Check out our Weekly Meal Plan for ideas.