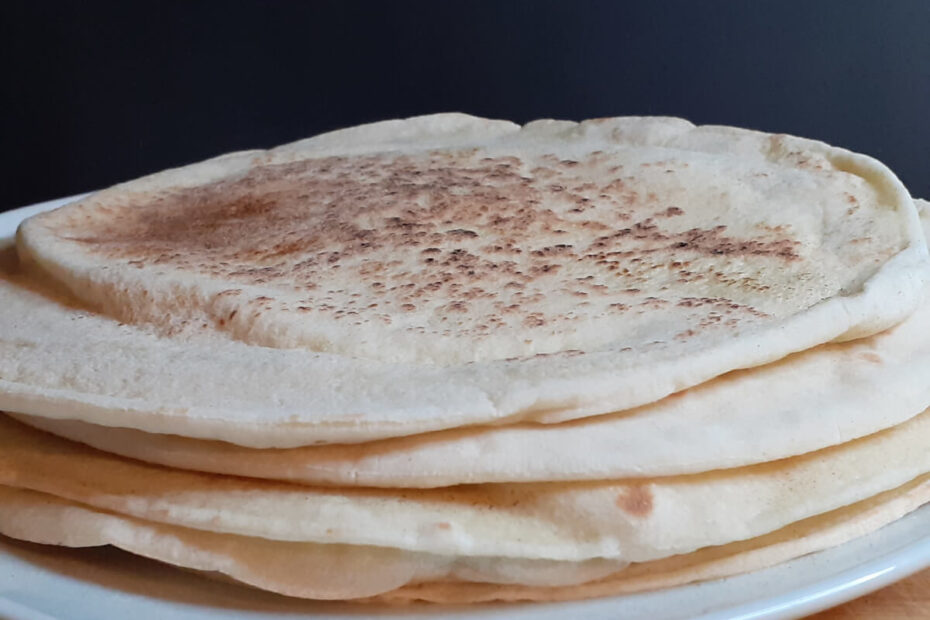
Delicious Pita Bread done either Stove Top or in the Oven. If you’re going after the Pockets, do them in the oven on a pizza stone. Stack overlapping slightly for drier Pitas or on top of each other for soft and chewy. These are incredibly delicious and good as a side with such dishes like the Seven Spice Chicken or Baharat Chicken or a snack like the Pita Bread with Hummus. These are also excellent to make all kinds of Wraps stuffed with Salad, Seasoned Meats, Cheese, and Sauces or Pita Pizzas! Even the dough can be used to make absolutely incredible Pitzas! These are personal size pizzas on a light and fluffy dough. No matter what you do with it, It all starts with this Pita Bread Recipe.
One of the secrets to achieving that perfect, soft texture in homemade Pita Bread is the use of Poly Flour. This unique Flour Blend contains baking powder, which effectively breaks down the larger air bubbles that can form during the baking process. Transforming them into a multitude of smaller bubbles, resulting in a light and fluffy Pita Bread.
Pita Bread Ingredients
The basic ingredients for Pita bread are
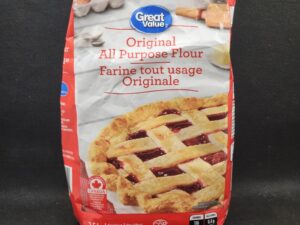
- Flour, – All Purpose or a mix of All Purpose and 00 Flour or wheat flour
- Luke Warm Water
- White Sugar
- Oil such as Extra Virgin Olive Oil or Lard
- Instant Fast Acting Yeast
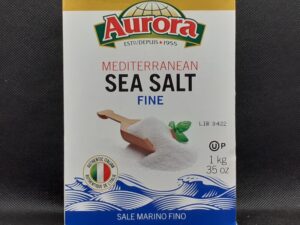
- Salt
This recipe uses the addition of Poly Flour not only for the same ingredients, but the lard for source of fat and Baking Powder, which has an astounding effect at creating a very soft Pita bread.

Types of Pita Bread
Pita bread is a type of yeast-leavened flatbread. It is popular in many Middle Eastern and Mediterranean cuisines. The Greek version does not have a pocket. While the pocket ones are also known as Lebanese, Arabic, or Syrian Bread.
The pocket is formed during the baking process when the bread is exposed to high heat. The intense heat causes the water in the dough to evaporate, creating steam. This steam fills the dough and causes it to puff up, forming a pocket.
This unique characteristic makes it perfect for filling with various ingredients such as falafel, hummus, or grilled meats. So whether you prefer the Greek style or the pocket variety, It’s a versatile and delicious addition to any meal.
Dry Pita Bread
If you want pockets and/or drier Pitas as you find in the stores, cook them in the oven on a Pizza Stone. The oven heat is a lot hotter and dries out the bread overall and faster. This is the same as the store-bought Pita Breads. They get stacked slightly overlapping as to not steam while cooling. Which further softens and creates a chew.
Once they are puffed, leave them in there for a few seconds or so before pulling them out. Once they are completely cooled, cover them with a plastic bag. Be careful when handling any pita bread that is puffy, the steam inside if it hits your hand can burn.

Overlapped Pita Bread
Instead of stacking directly on top, overlap them, so they can cool faster and dry out a bit.
Soft & Chewy Pita Bread
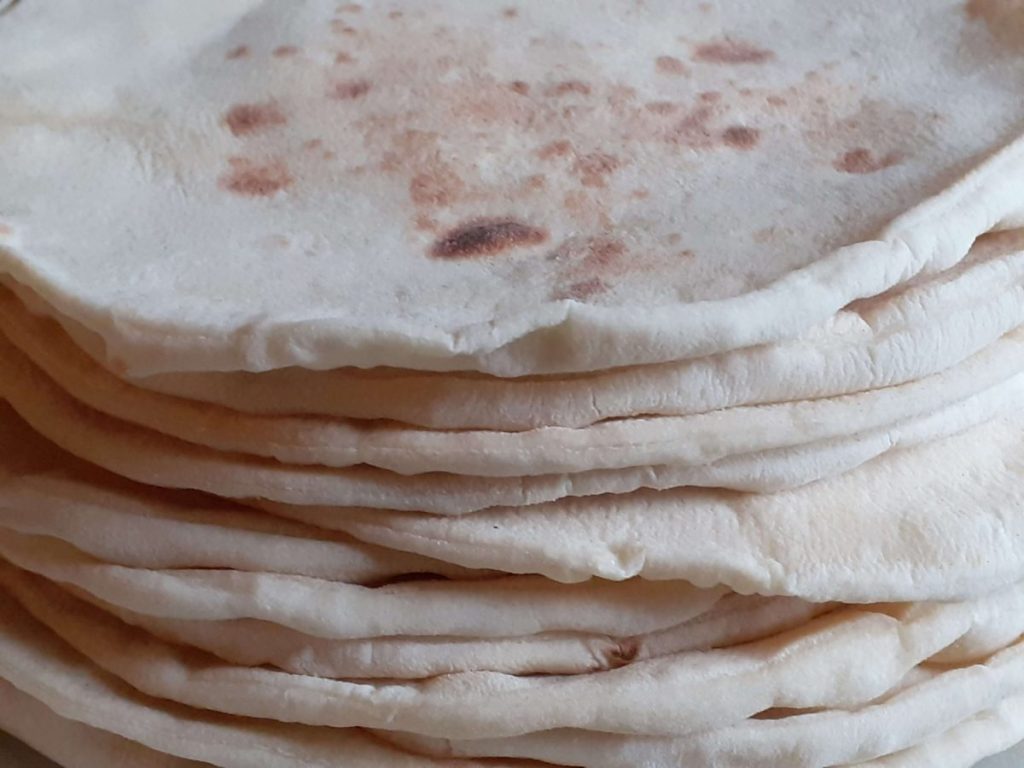
For Soft and Chewy, cook them on the Stove Top on medium heat and then stack them directly on top of each other. Flipping the stack once in a while. This causes the Hot Pitas to steam the others that it is in contact with, resulting in Soft & Chewy Bread. Once they have cooled down but are still warm, wrap them in a plastic bag.

Stack and Steam
Stack them directly on top of each other. When a freshly cooked pita bread is added, grab a couple and flip them over, so the hot ones are steaming the rest.
How to Make Pita Bread
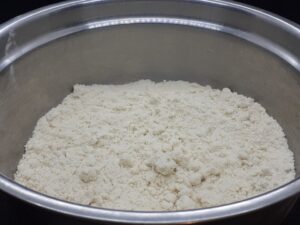
Combine 2 cups of Luke warm water & 3 Tbl of Sugar and whisk well. Add 1 Tbl of Instant Fast acting Yeast and 2 Cups of Flour. Whisk well and let this proof for 30 minutes to an hour. This is the slurry mix and will fully saturate the flour, creating good gluten bonding.

Pita Dough
Afterward, add the remaining 2 Cups of Flour, 1 Tbl Salt, and 1/2 C of JAH Poly Flour. Knead well and add more flour to achieve a somewhat tacky dough. Cover and let this rise again until doubled in size.

Portion
Then shape the dough balls into 90 g. I find this weight works best. You could go larger for puffier. Cover the dough and allow to rest a few minutes. About 20 minutes.
If you find the dough too tacky, toss in flour for easier handling.

Flatten out
On a Floured surface, take each dough ball and flatten with the palm of your hand.

Form and Shape
Roll each portion out to about 9 inches and use a 9-inch pot lid to stamp out the pita bread. Toss each Pita from hand to hand in order to get rid of any excess flour and prevent the bread from burning in the pan, and set aside. Repeat for each one.
If you find that the dough stretched back too much when rolling out, leave the dough rest a bit longer.
After they are cut out, they’re ready for the stove top or oven.
How to Cook Pita Bread
There are two ways Pita Bread can be cooked (Stove Top or Oven). With the Stove top method, only a pan is needed. The Oven method requires the use of a Pizza Stone.
Stove top Pita Bread
Heat a pan over medium heat and wait a few minutes until it heats up.
Place the dough down only until bubbles form, then flip the dough. Cook for 20 – 30 seconds and then flip the dough over again. At this time, large pockets of air should start to form. Lightly press with the spatula on any air bubbles to increase the pressure and assist in creating a full pocket.
This method forms the skin on one side (not completely cooked) that when flipped over traps the heat inside the dough. When it is flipped over for the third time, it gets really hot and starts to steam. This is when you start seeing the large air pockets form. Assist the formation of the pocket by gently pressing down on the bubble to increase the pressure and make sure that the bread stays in contact with the pan, instead of lifting. Then transfer to a plate.
Be careful not to burn your hand if the steam escapes or the bread breaks releasing the steam. It is very hot.
If Pockets are not desired, place the dough in and cook longer until good bubbling, then flip and cook the other side for 20 – 30 seconds.

Oven Pita Bread
Preheat the oven to the highest setting it will go with a pizza stone in place and the rack position in the lowest or second-lowest position. Once the oven is properly preheated, you can place the dough in and cook until it puffs up and holds, just a few minutes.
Be careful transferring this to a plate. If the steam escapes and hits your hand, it’s going to be very hot.
Sometimes the pita bread won’t puff up either because the oven has lost too much heat or the dough breaks, letting the steam escape.
How to Freeze Pita Bread
You can freeze these easily by placing completely cooled Pita bread in a large Ziploc bag. When ready to use, just cook them again to bring to temp and return the texture as it was fresh again.
If somehow you end up with really dry pitas from freezing or leaving them out too long. Brush with water and cook to return the freshness and texture. You can also use this tip for bread. Doing this causes you to get the bread back just like it was fresh.
Reheating Pita Bread
Place a pan over medium heat and wait a few minutes for it to get hot. Add your pita bread to warm through and repeat for the other side. If reheating for making wraps, steam for a few seconds.
Flavored Pita Bread
These pair up well with some dishes and are good just on their own as well. Flavored Pitas can also be served with a dish as the bread side, optionally with dips like Tzatziki or Hummus.
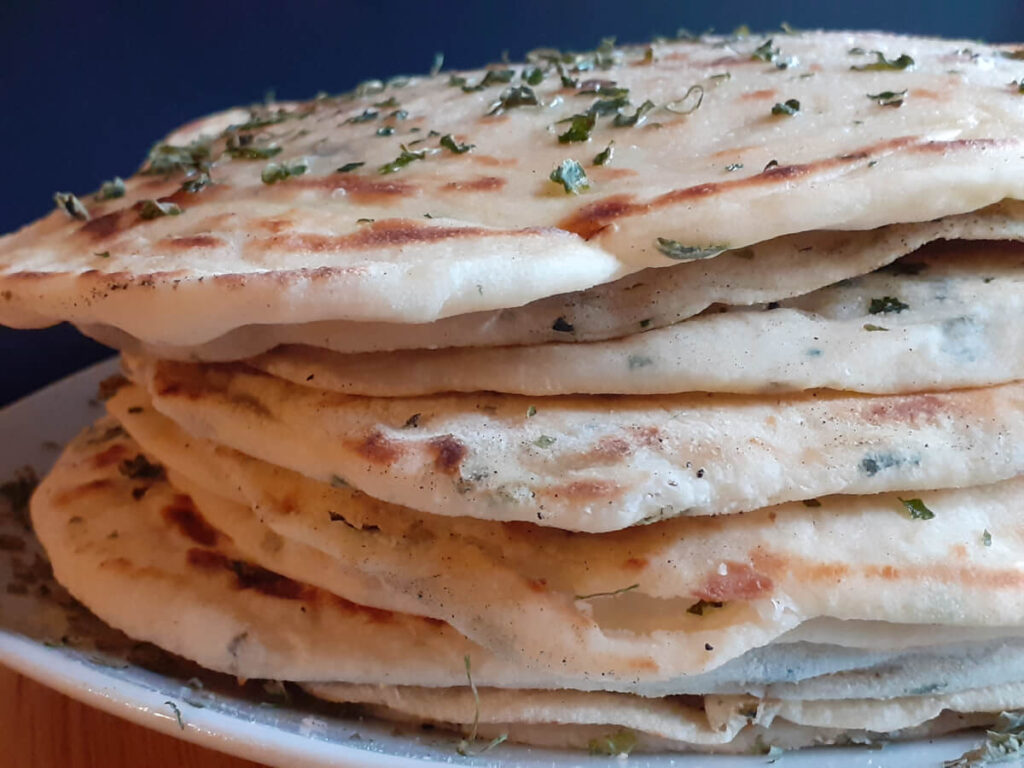
Methi Pitas
Brush the Pita Breads right after being cooked with butter, Garlic Butter, or Garlic Sauce and a sprinkle of Fenugreek Leaves. You can also include fenugreek leaves right in the dough.
Za’atar Pitas
Brush the Pita Breads right after being cooked with butter, Garlic Butter, or Garlic Sauce and sprinkle Za’atar Seasoning over top.
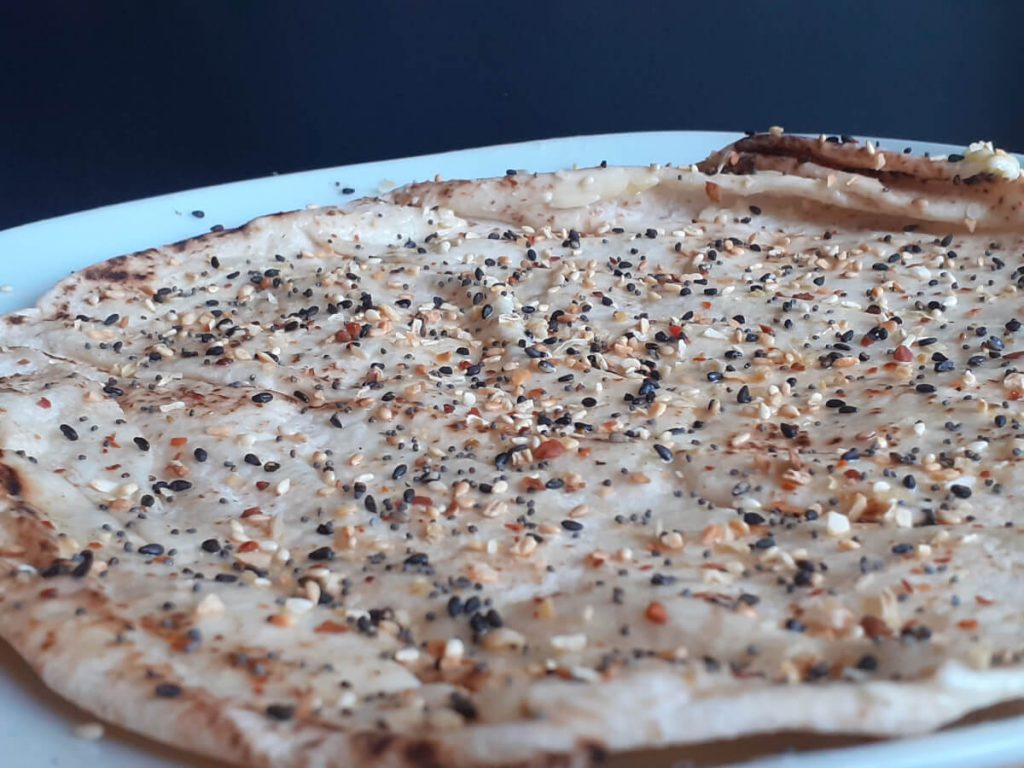
Everything Bagel Pitas
One of my favorite snacks! Brush the Pita Breads right after being cooked with butter, Garlic Butter, or Garlic Sauce and sprinkle Maritime Bagel Seasoning on top. Even better is to spread a layer of Hummus after brushing with Garlic Butter. Then sprinkle with Everything Bagel Seasoning!

Equipment
- 1 Dough Mixer or knead by hand
- 1 Whisk
- 1 Saran Wrap I use a dedicated garbage bag to cover the dough
- 1 Digital Scale
- 1 Bread Knife or Dough Scraper
- 1 Baking Sheet
- 1 Skillet or Pizza Stone
- 1 Rolling Pin
- 1 9 Inch Pot Lid
Ingredients
- 4 C Flour - plus more if needed to achieve a tacky dough and rolling the pitas out.
- 2 C Warm Water
- 3 Tbl Sugar
- 1 Tbl Kosher Salt
- 1 Tbl Yeast
- 1/2 C JAH Poly Flour
Instructions
- Mix Water, Sugar, Yeast & 2 C Flour with a Whisk. Cover with Plastic and place into the Oven. Turn the oven on for 20–30 seconds and then turn the oven off. Leave for about 30 minutes.
- Add 2 C Flour, Salt & JAH Poly Flour. Mix 3 minutes on low and 5 minutes on a higher gear. Add more flour if needed. You're looking for a tacky dough. Cover with Plastic and place into the oven. Turn the oven on for 20–30 seconds and then turn the oven off. Leave until doubled, about 1 hour.
- Weigh and Shape into 90 g dough balls and let rest 20 minutes or so covered. If the dough is too tacky, coat in some flour to handle it easier.
- On a heavily floured surface, flatten out all the Dough Balls with the palm of your hand. Repeat for each dough ball. Then roll the dough out to about the same size as a 9-inch pot lid and use the Pot lid to stamp to get a perfect circle. Shake off any excess flour by tossing from hand to hand and set aside covered. If the dough sticks to the roller, coat the dough in more flour. If the dough shrinks back too much, allow the dough to rest longer.
Oven Pitas
- Preheat the oven to the highest setting, with a pizza stone in place in the lowest or second-lowest rack position. Wait until it is fully preheated before cooking the Pitas.
- Place Pita Bread in and cook until it puffs up. Hold it there for about 30 seconds before transferring it to a plate and repeat.
Stove top Pitas
- Heat a skillet up over medium heat and allow a few minutes for it to warm up.
- Place Pita Bread and cook just until bubbles start to form. Flip the Pita bread over and cook another 20 – 30 seconds. Flip the Pita bread back over and finish cooking the other side. At this time, large air pockets should form. Gently press on the large air pockets to assist in creating a full pocket. Transfer to a plate and repeat.If Pockets are not desired, then cook well on the first side, flip and cook on the other side. Pockets may still form, but are less likely.
