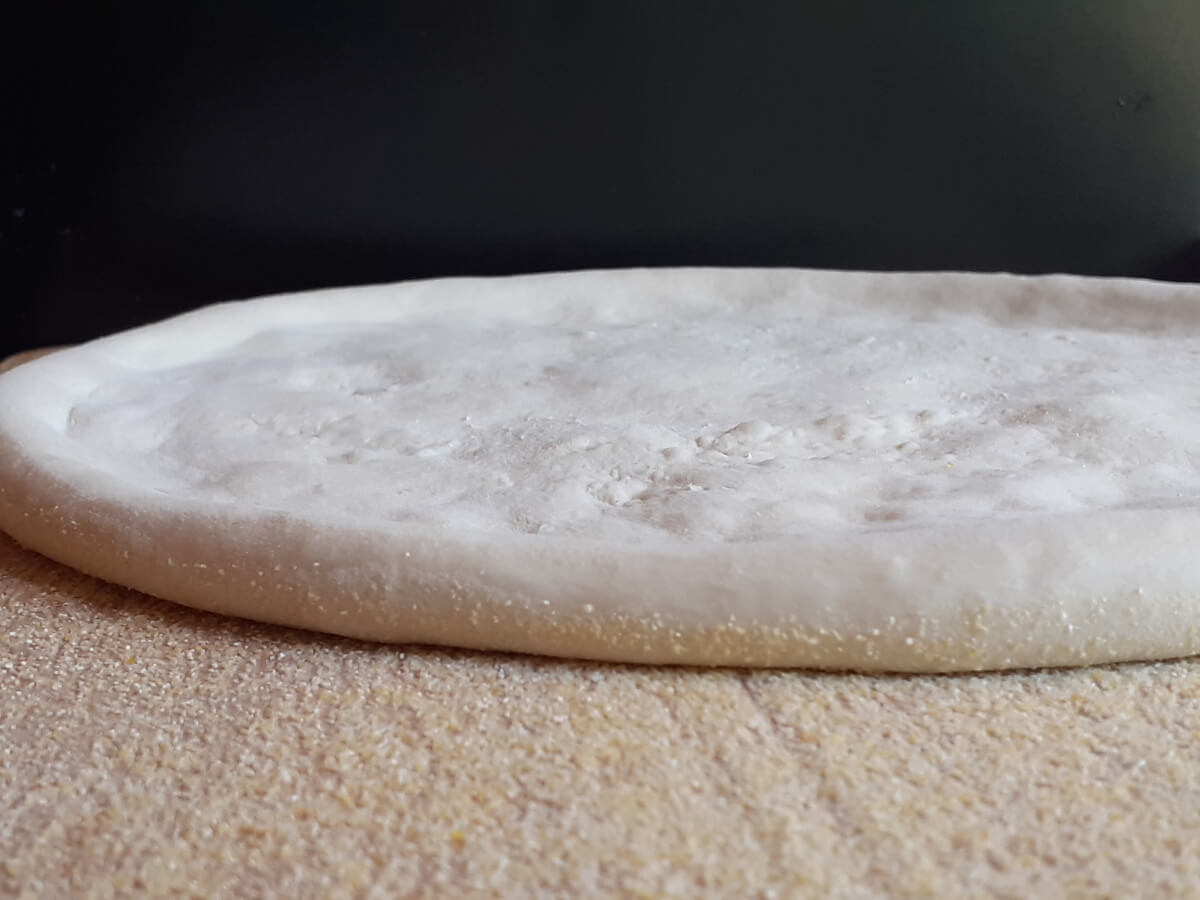
The Classic Hand Tossed Pizza Dough, Domino’s Style! This post will show you how to make a batch of Pizzeria Style Pizza Dough and how to Hand Toss it for Homemade Pizza.
The Classic Hand Tossed Pizza at Home is Proofed and Aged to use the next 1–3 days. Just the same as Domino’s. It can also be frozen for use at a later time.
This makes a little over 1500 g of Pizza Dough. Depending on how much dough you like for your pizzas, this will give you about 3-4 Medium Pizzas.
Domino’s Pizza Dough
Domino’s Pizza Dough recipe, from what I can remember, is.
- 20 kg. of Flour
- Sugar was about 1 Cup, maybe a bit more
- Salt was just less than the Sugar
- Oil was the same amount as either the Sugar or the Salt
This is mixed in the dough mixer and then placed on a table to be portioned out into dough balls and placed into a tray and stacked. The whole stack of dough is transferred to the walk-in to age for 3 days.
Did you know? Domino’s Pizza Holds competition events for the Fastest Dough Slapper. This is where a tray of Medium and large Pizza Dough is slapped out to the correct size, sauced, and cheesed.
Pizza Dough Slurry
Dominos does not do a slurry. Although other Pizzerias do. For at home Pizza Dough, especially using all-purpose flour, the slurry really helps to create a final end product that is much better than just combining everything. This extra step gives time for the flour to fully absorb the water and develop gluten. Which is extremely important in getting that stretch from hand-tossed pizza dough.
All the ingredients are combined except for the Flour & Salt. Then an equal amount of flour to the water is added and mixed in until smooth to create the slurry.
This is allowed to rest for about 1 hour before the remaining Flour & Salt are added to create the dough. You should see lots of bubbles forming.

A small amount of Gluten flour can be added to create a chewier dough and assist in a better stretch with better gluten development. Anywhere from 1 Tbl or more. However, the slurry is very good at achieving the same results with regular All-Purpose Flour.
Mixing Pizza Dough
After the Slurry has developed. The remaining Flour & Salt is added and mixed until smooth and elastic. Different flours have different absorption rates, so it is best to add most of the flour and the last little bit if needed in order to achieve a final dough that is tacky, smooth and elastic.
Dough Mixer Pizza Dough
If you have a dough mixer. Place it on speed 1 for about 5 minutes and then speed 2 for about 3 minutes. You should see the dough take on a whiter color.
Hand Kneading Pizza Dough
If doing this by hand, take your time. Too many people feel the need to hurry the kneading and then tired out. Just a smooth slow-motion back and forth is adequate for about 10–15 minutes.
The Dough should be Tacky. At first, it will be extremely sticky, but as you knead and the water is spread out it should become less sticky. If it is still too sticky, just add a bit of flour. But do so after you have kneaded it for some time.
You want the dough Tacky but not too sticky. On the opposite side, depending on the flour, it can go too dry. In this case, add some more warm water. The end product should be a tacky, smooth and elastic dough ball. Once the dough is mixed, it is time to age the dough.
Pizza Dough Weights
In general, the Small Pizza is about 1/2 lbs. of dough. The Medium is about 1 lb. and the Large is about 1 1/2 lbs. A little under or over in all cases and depending on how thick or thin you like your pizza.
Portion the dough into the desired size. For me, I use the below portions.
- Small 233 g
- Medium 377 g to 454 g
- Large 610 g
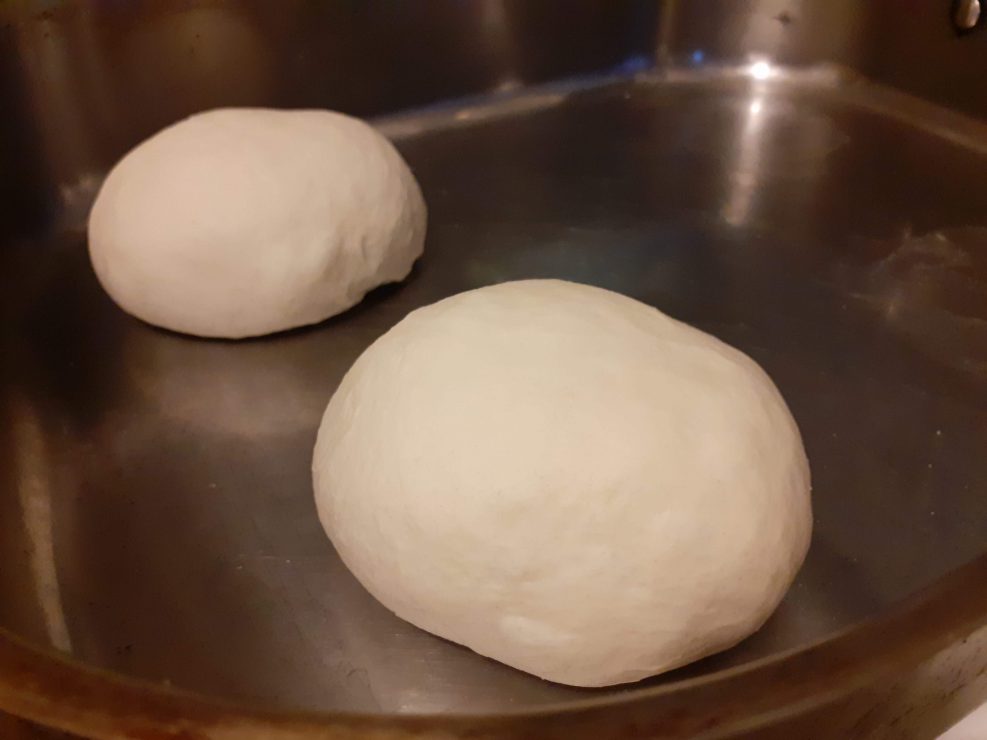
I am pretty sure, but can’t quite remember that Domino’s Pizza Dough Portions are
- 210 g for a Small
- 450 g for Medium
- 625 g for a Large.
Aged Pizza Dough
This yields far better results, but requires the pizza dough to be made up the day before. Pizza Dough requires a lot of time to proof in order to develop the gluten as well as the flavors. It also makes the pizza easier to handle and digest, which is often an overlooked factor in rushed Pizza Dough.
Aging the Pizza dough is refrigerating it to slow down the proofing and allow flavors to develop. Some restaurants age it overnight and others like Dominos ages it for 3 days.
How to Age Pizza Dough
After the remaining Flour & Salt have been added and the Dough Ball kneaded and formed. Portion out the Dough Balls into the desired size. Lay them in on a tray, covered with plastic, and refrigerate anywhere from 1 to 3 days.
An hour before you plan on making the pizza, take the dough out to warm up a bit while the oven preheats on the highest setting it will go. Usually around 500 F – 550 F.
Over Proofed Pizza Dough
If it is over-proofed, you will get poor rise and texture as well as taste. It will often smell extremely yeasty. Really over-proofed dough will have the smell of alcohol and is no good.
Use the Dough up between 1–3 days after refrigeration. If you anticipate using the Pizza Dough much later, then you are better off freezing the Dough immediately or at the latest 1–2 days.
Same Day Pizza Dough
While not quite as good as properly aged pizza dough. You can use this on the same day. Although you still have to wait quite a few hours and speed the proofing up with residual heat from the oven for the Second Proof.
Once the remaining ingredients are added and the dough ball formed. Place into a bowl and cover with plastic. Place the Dough into an oven that has been preheated for 15–20 seconds, then shut the heat off. This residual heat will speed up the proofing. Leave it in there until doubled in size.
Once doubled in size, portion the dough, cover with plastic and repeat the oven proofing for about 1 hour. After which, place the dough into the fridge for about 1 hour to cool while you preheat the oven to the highest setting.
This will cool the dough down and allow for better stretching when you are ready to make the pizza. If you choose to skip the refrigeration, you will most likely end up with Pizza Dough that stretches too easily.
Under Proofed Pizza Dough
If there is inadequate proofing, you won’t get a good stretch and the flavors won’t be developed. The Pizza will cook up not as well as properly aged pizza dough.
To speed the Proofing up, preheat the oven for a few seconds just to warm it up and place the dough in covered. The residual heat should speed the Proofing up.
Best Temperature for Hand Tossed Pizza Dough
If the Dough is too cold (35 F – 41 F) the stretch will be difficult.
If the dough is too warm (68 F) the stretch will be too loose.
In between is the perfect temperature. Ideally, about 1 hour after taking it out of the Walk-in or refrigerator.
How to Hand Toss Pizza
OK, so you got your pizza dough portioned out and aged correctly.
- It has been removed from the refrigerator and sat out for a bit. The Dough is still cold, but much warmer than when it was refrigerated.
- The Oven is preheated at the highest setting it will go, preferably with a pizza stone in place and held at that temperature for quite some time before you start cooking the Pizza.
- You got the Sauce, Cheese, and Toppings ready to go, and now it’s time to make the Classic Hand Tossed Pizza.
The key and most important factor is to preserve the crust. Do NOT roll it out with a Roller or otherwise flatten it out. You don’t want to touch the crust at all, in order to preserve the air pockets.
Cornmeal
Sprinkle a bit of cornmeal on the counter. Cornmeal adds additional flavor and crunch but also assists in browning the pizza as these tiny granules get really hot and transfer the heat. Semolina Flour also works in the same manner. Of course, you can just go the flour route too. Any of these makes stretching the pizza easier.
Pick up a Dough Ball and place it on the cornmeal with the bottom of the Dough Ball touching the Cornmeal.
The Top of the dough ball should be dry, but if not, sprinkle a bit of flour or semolina flour on it.
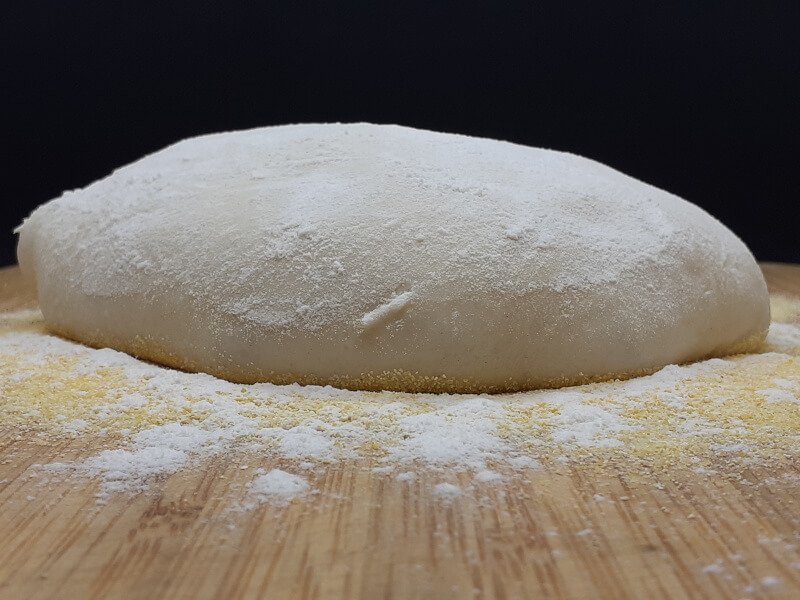
Classic Hand Tossed Pizza Technique
This is a beginner’s way of becoming accustomed to hand-tossed pizza dough. Once you are used to it, you will be able to press the center down with your palm while at the same time creating the crust and stretching it all in one go.

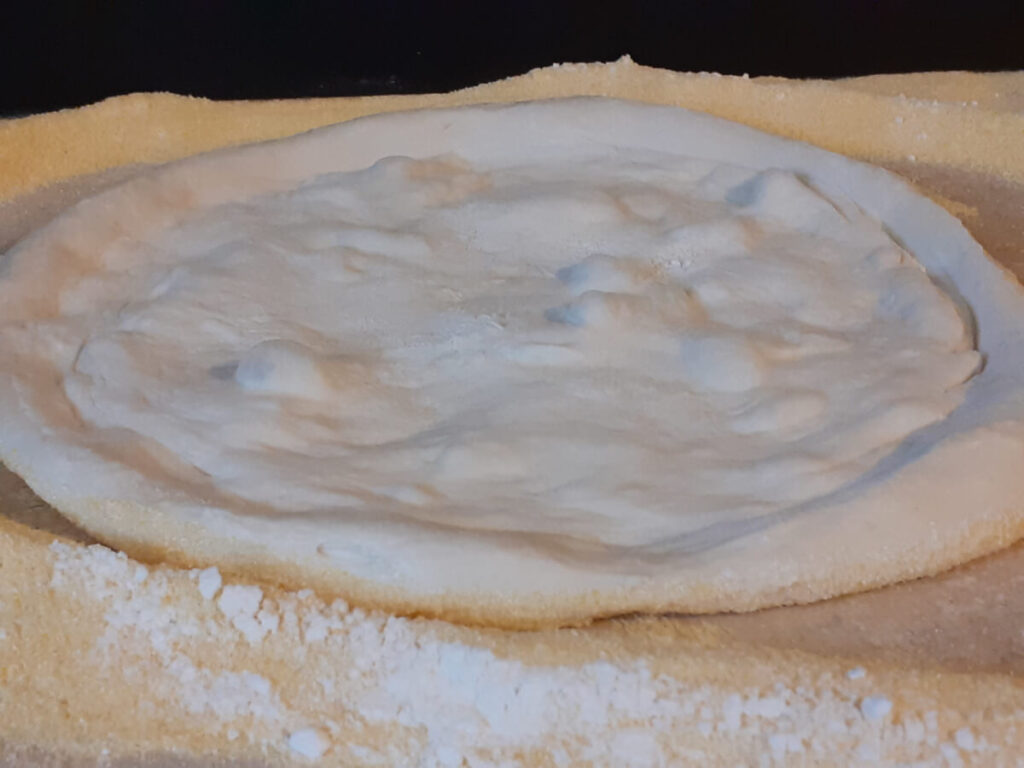
Flatten the center
With a closed fist, punch down the center of the dough to flatten it out.
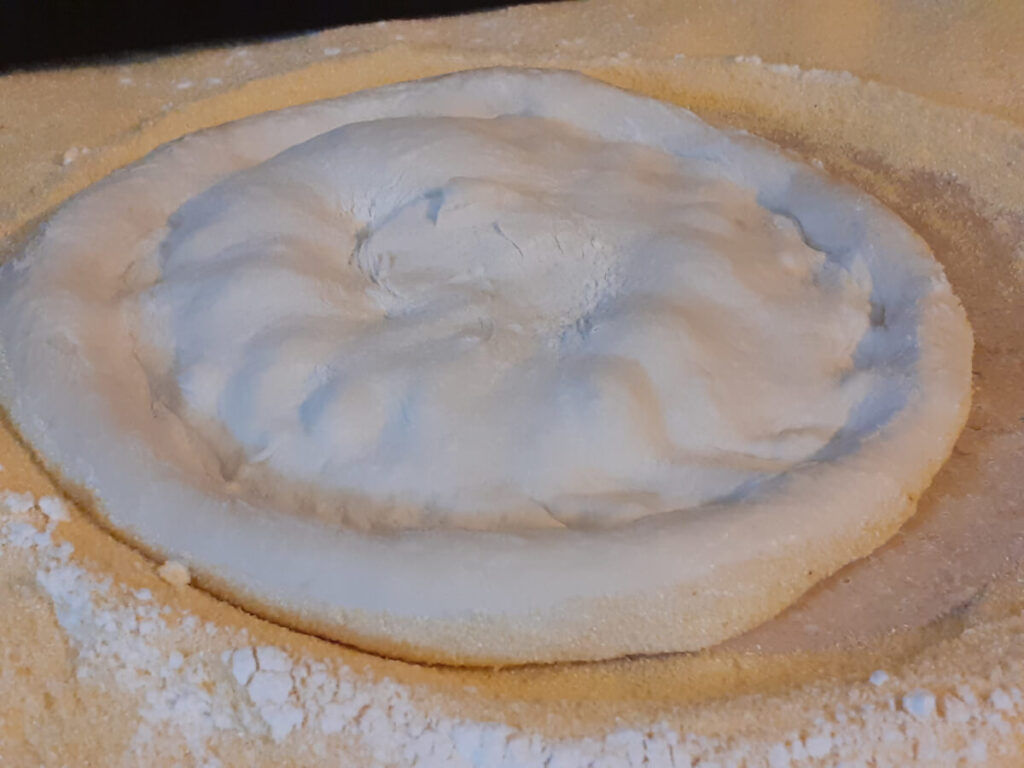
Crust Formation
Then with your fingertips form the crust around the circumference of the dough.
Stretch
Once the crust is formed, gently stretch the dough out to make it a bit larger.

Hand Toss
Once it has stretched some, you can pick it up and toss it from hand to hand with your thumbs tucked in so that it doesn’t puncture the dough and create a hole.
You’re not slapping the dough in the center, instead on the outer circumference before the crust.
This will take you some time to master. But once you get it, it is so easy and quick to stretch out pizza dough in seconds. Plus, it just looks cool. Don’t give up. Just keep practicing every time you make pizza.
The worse case is that you have to stretch it on the counter by pulling from the center out. No big deal.
The best case is that you master the Dough Slapping technique and able to preserve the crust for the best Pizza.
Recipes using Pizza Dough
This is your classic pizza dough that can be used to make Pizza and other dishes.
- Classic Hand Tossed Pizzas & Donair Pizzas
- Twisty Bread Sticks & Cinnamon Bread Sticks
- Garlic Fingers
- Calzones
- and more


Equipment
- 1 Dough Mixer
- 1 Dough Tray or Sheet
Ingredients
- 987 g All Purpose Flour - or about 7 C of Flour + more if needed
- 563 g Water - or about 3 C
- 1 1/2 Tbl Sugar
- 1 Tbl Sea Salt
- 1 Tbl Olive Oil
- 1/2 tsp Yeast - or 1 tsp Fresh Bakers Yeast
Instructions
- Add Water, Sugar, Oil & Yeast to a Large Pot or Bowl with 3 cups of Flour. This is the Slurry. Whisk well until smooth. Cover and allow to proof for 1 hour.After sitting for 1 Hour, you should see good bubble formation.
- Mix in the remaining Flour & Salt and Knead until Smooth and Elastic. It should be a Tacky dough. Dough Mixer: Mix at speed 1 for 5 minutes, speed 2 for 3 minutes. Hand Kneaded: Knead for about 10 – 15 minutes. If it is too sticky add more flour or too dry add more warm water. But do so after you have kneaded it for some time. Since some of the moisture will get distributed during mixing. Adding extra flour in too early can result in a dry dough.
- As soon as you have the Dough formed, portion into the desired size. Lay them down on a tray and cover with Plastic. Refrigerate for 1 – 3 days. It's important that the dough has a full 24 hours to age.
- Remove from the Fridge while still covered 1 hour before you plan on using it. During this time, preheat the oven to the highest setting it will go.

