Homemade Thick & Soft Greek Pita Bread with no pockets or rolling pin needed. Serve on the side, or use for Gyros, Souvlaki and even Greek Pitzas.These are finger pressed, creating dimples in the dough and cooked in a skillet or in the oven and brushed with Butter or Olive Oil.
This is my version, that is different from your Traditional Greek Style. In this style, we are still after the thicker pieces of Flatbread when compared to Lebanese style. However, instead of rolling the dough out thin, we press it out with the fingertips. This creates a thicker Pita Bread that is about 6 inches and super soft from the Poly Flour that is added.
These Pita breads don’t puff up to create a pocket. Instead, these cook up rather thick and hold up well to not only for Souvlaki/Kebabs or Gyros/Doners. But especially well for Butter Chicken or other curry dishes the same way Naan does. Pita Bread may break when handling Butter Chicken or any Curry Dish, where Greek Pita Bread or Naan will hold up pretty well.
This same Pita Dough can also be used not only for Greek Pitas, but to make Lebanese or Arabic Pitas, Naan, Pitzas and Pinaanzas!
Greek Pita vs Pita Bread
While both are made with the same basic ingredients, their thickness and size differ. Sometimes Fresh Thyme is added to the Greek version. Whereas Pita Bread is usually just made up of Flour, Water, Oil, Sugar, Yeast and Salt. Greek Pitas are typically made with a All Purpose or Bread Flour. While Pita Breads can be made with a variety of flours.
Pita Bread is a thin leavened Flatbread about 8+ inches and contains a pocket. This is also referred to Arabic, Syrian or Lebanese Pita bread. Greek Pita bread on the other hand is much thicker and does not contain a pocket due to the thickness, and is about 6 inches in size.
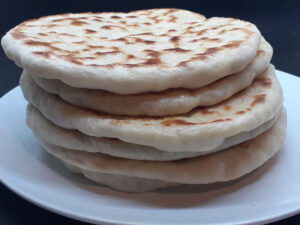

Greek Pita vs Naan
These are perhaps the closest to each other. Both are much thicker than the Arabic or Lebanese Pita bread and don’t have a pocket. While both are made up of the same basic ingredients. It is quite common to add Yogurt, Butter or Ghee or even Eggs to Naan bread. Whereas Greek Pita Bread is made with the same ingredients as Pita Bread, just prepared thicker and usually with Olive Oil, instead of Butter or Ghee, used in Naan.
There are even flavored Naan Bread with the addition of Garlic, Onion, Fenugreek Leaves, and compound Butters that can be brushed on. While Greek Pitas can include fresh Thyme, it is usually made up with just the simple ingredients.
Both are a derivative from Pita bread, which is much older, and comes from Persia/Iran. Naan bread is typically made with Atta Flour or Maida, but All Purpose or Whole Wheat can be used too.
Another key difference is the cooking method. Greek Pita bread is traditionally cooked on stone. Whereas Naan is cooked in a Tandoor. Greek Pitas are are also round, whereas Naan is Oval or Tear Drop shaped, from pulling one side of the dough and slapping on the inside of the tandoor.
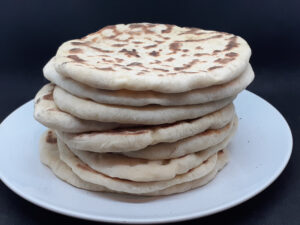
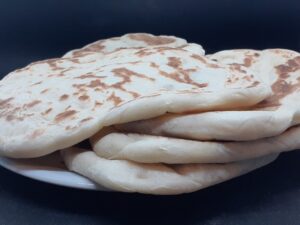
Greek Pita Bread ingredients
Traditional Greek Pita Bread is made from Bread Flour, Water, Olive Oil, Sugar, Yeast & Sea Salt. Sometimes Fresh Thyme is added for a herbal note and are brushed with Olive Oil.
Greek Pitas with Poly Flour
For my version, the addition of Poly Flour is added. This contains the Fat, Salt & Sugar as well a key ingredient (Baking Powder), for super soft, light and puffy Greek Pita bread, it’s a game changer. Baking powder is very effective at breaking larger air pockets into smaller, tiny air bubbles and creating a much softer bread. This is added after the Slurry Stage. Along with the remaining ingredients to form the Dough.

Poly Flour
- 3 Cups of Flour
- 1/2 C Pure Lard
- 2 Tbl Sugar & Baking Powder
- 1 Tbl Sea Salt or Kosher Salt
Dough Slurry
You always get better gluten development and hydration with a slurry, which translates to a better chew. Combine the Water & Sugar with Yeast and mix in an equal amount of Flour as there is Water. Mix through really well to create the slurry. Rest this for about 30 minutes, or until good bubbling action is present.
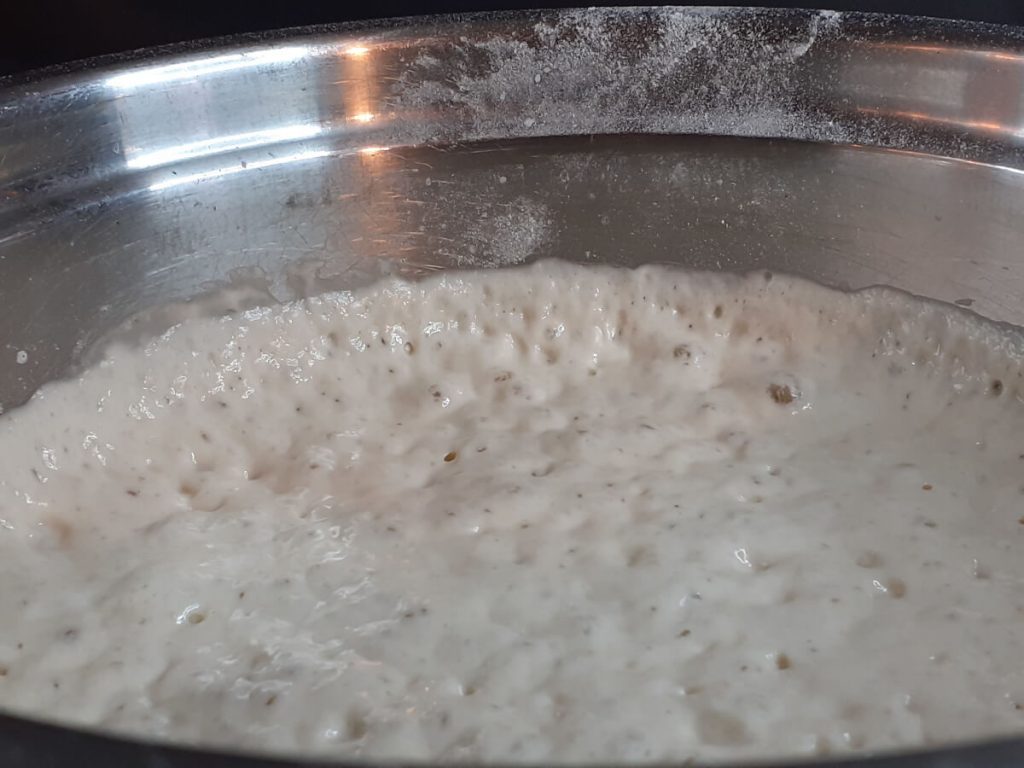
Dough Slurry
- 2 Cups of Warm Water
- 2 Cups of Flour
- 3 Tbl Sugar
- 1 Tbl Yeast
Greek Pita Bread Dough
After the Slurry has proofed for 30 minutes and there is lots of bubbling action, add in the remaining Flour, Poly Flour & Salt to mix through and create the Pita Bread Dough. Knead this for about 5 minutes and place back into the bowl to cover and proof again for about another hour or until doubled in size.
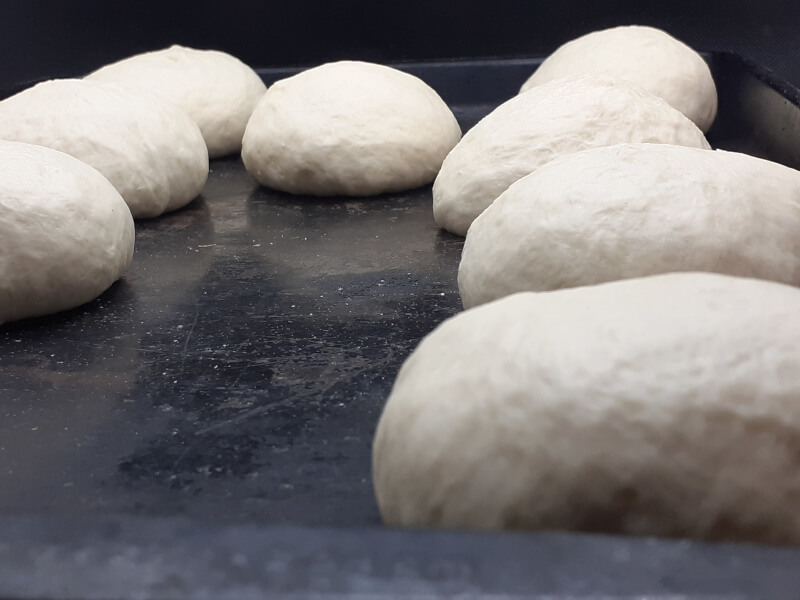
Portioned Greek Pita Dough
Once the Dough is doubled in size, weigh out portions of the dough and shape into a ball to place back on the baking sheet. Cover to proof for another 30 minutes. Just enough to relax the dough.
Greek Pita Bread Sizes
Greek Pitas are generally around 6 inches. I find that portioning the Dough out at 112g – 115g and hand pressing it, is not only much easier and quicker, but results in the good thickness as well as the dimpling of the bread.
Fingertip Pressed Pita Bread
Instead of using a rolling pin, just use your fingertips to press the dough out. This also creates the beautiful texture on one side, much like old style pizzerias, with the dimpling of the crust. It also avoids squeezing out all the air with a rolling pin and prevents too thin of a Pita bread. Greek Pitas are known for their thickness with no pockets.
How to make Greek Pita Bread
So you got your Greek Pita Dough weighed out, portioned and shape into a ball. It has been rested for 30 minutes while covered to relax the dough. Now it’s time to make Greek Pitas.

Flatten out
On a well floured surface take each dough ball, coating both sides generously in flour and flatten out with the palm of your hand, returning the dough back to the baking pan to relax a bit while you flatten out the remaining dough balls.

Finger Press
On a well floured surface, take each flattened out dough and finger press to further flatten them out. Return the dough to the baking pan and repeat for the remaining dough.
Once they have all been finger pressed out. One by one finger press them out again to about 6 inches. Toss from hand to hand to shake off any excess flour before placing them into the pan. Repeat for each one. Preparing the next one while the previous one is cooking.
Docking
Store bought Greek Pitas are commonly Docked and you can do the same with a Docker Roller. This prevents any large air bubbles from forming when cooking the thicker Greek Style Flatbread.
In this recipe with Poly Flour, the Baking powder breaks larger air bubbles into smaller ones, so you don’t really have too. If you do choose too, dock the prepared dough, right before cooking.
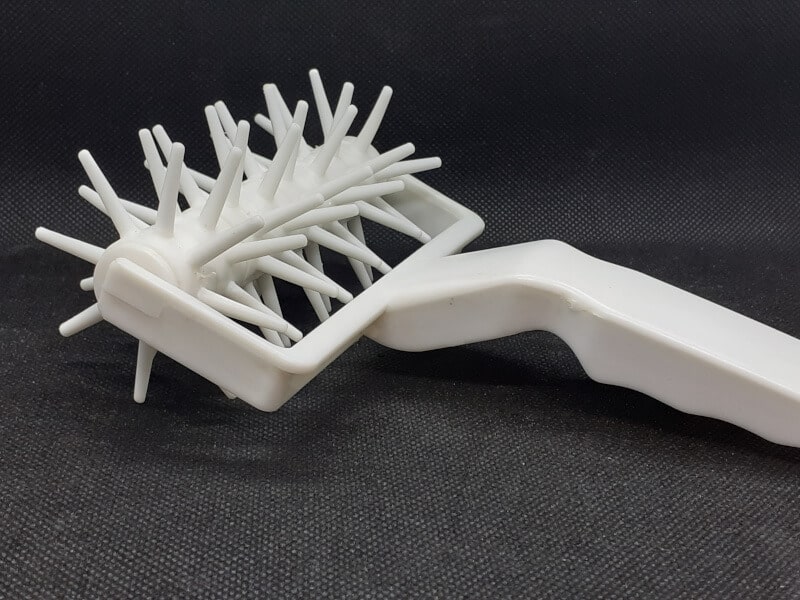
Dough Docker
Hold the pressed out Dough and run the Docker over 1 or 2 times. Shake off any excess flour before transferring to the hot pan.
How to cook Greek Pita Bread
Heat the Pan up over medium heat for about 5 minutes so that it’s hot when you place the first one in, shaking off any excess flour. When it starts to bubble up, flip it over to cook for about 1 minute. Then flip it back over to finish browning for about 30 seconds to another minute.
You may have to cook a bit longer or use a lid to trap heat in to ensure they’re cooked through. You can tell by looking closely and seeing spots where the dough may not be cooked through yet.
It takes about 2-3 minutes for each one on medium or just below medium to cook through. Optionally you can cover with a lid to trap the heat in. You can also bake these in the oven on a baking sheet or pizza stone.

Skillet Greek Pitas
With each Dough, finger press again to about 6 inches. Shake off any excess flour and place into the skillet and optionally cover with a lid. While cooking, prepare the next one to go into the pan when ready.
Initially give the Skillet time to heat up over medium heat, about 5 minutes. Afterwards watch the bread as it cooks, if it browns up too quickly, lower the heat just a bit.
Oven Baked Greek Pita Bread
Since these are much smaller, you can place a few of these on a baking sheet and bake in the oven, preheated at 500 F and cooked for just a few minutes, or until the tops are browned, or directly on a Pizza Stone. With the oven method, you may still get a pocket, although it might not be a full blown one.
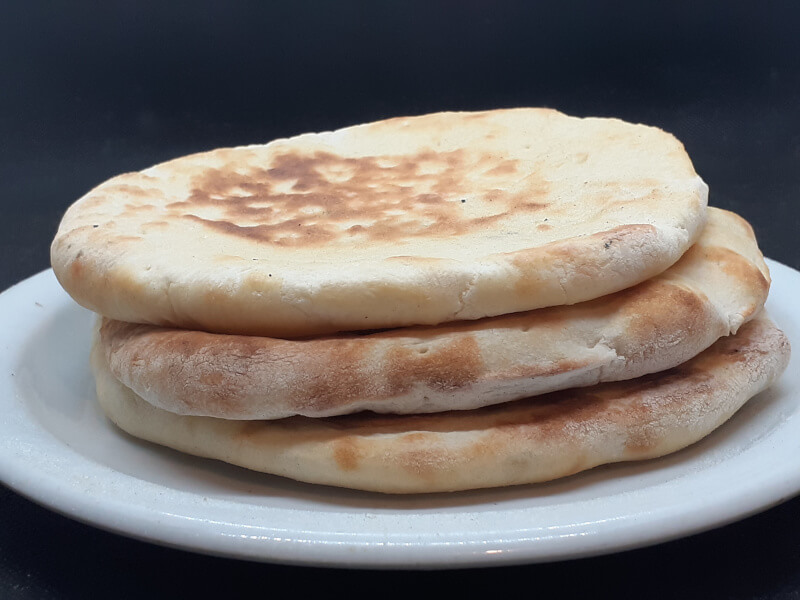
Oven Baked Greek Pitas
These will also come out dryer, so immediately brushing them with Butter or Olive Oil will help in softening them as well. Keep them covered in tinfoil as they come out of the oven.
Carefull with the steam coming from these. The inside will be extremely hot and can burn you.
Brushed Greek Pita Bread
You can brush the Greek Pita breads with Butter or Extra Virgin Olive Oil as they come off the pan. This also makes the colors pop more and gives the Pita Bread a Yellow color and more Flavor. You can also brush with Butter or EVOO before they go into the pan to create Crispy Greek Pita bread.
Stacking Greek Pita breads
For very soft Pitas, stack them on top of each other as they come off the pan. This in effect steams the ones on top. Additionally keep wrapped in tin foil for even softer Greek Pitas.

Greek Pitas in Tinfoil
Keeping the Pitas wrapped in Tinfoil in effect steams all the Pitas with the residual heat. Creating even softer PItas.
Storing Pita Bread
All flat breads can be wrapped in Tinfoil as they are being cooked and stored that way. Plastic or a Plastic bag can be used, after they have cooled and refrigerated for a few days only. For long term storage, place inside a plastic bag and freeze.
This is by far the best method to saving your Pita breads and maintaining that freshness. I save the bags for the store bought Pitas to store homemade Pitas in and freeze. This way they stay the freshest possible and they take no time at all to heat from frozen or even to thaw really.
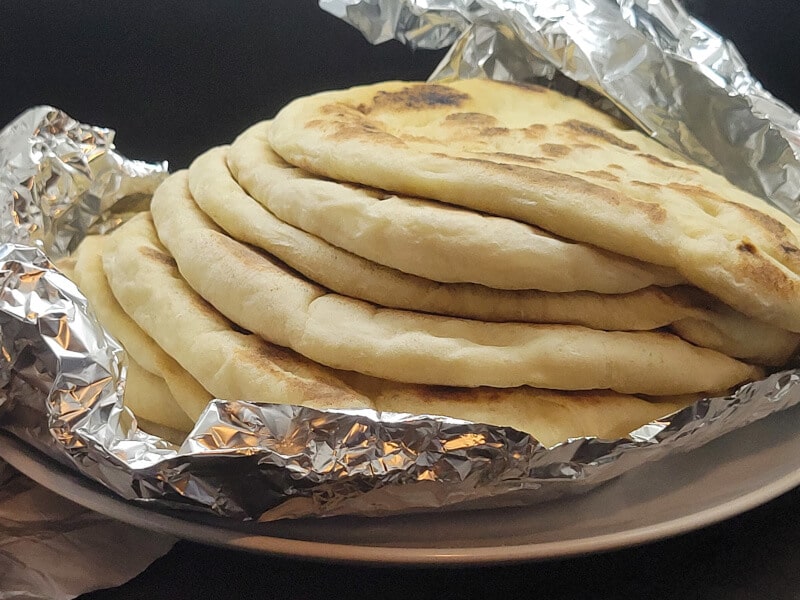
Reheating Pita Bread
Always reheat the Pita Bread in a skillet over medium heat before serving, this brings back the softeness and felxibility like they were freshly made. Heat both sides until Soft and heated through.
Since flat breads are relatively thin, Frozen Pitas take no time at all to thaw. To reheat them, either place in a skillet over medium heat to soften and heat through, or into a steamer. All Flat breads can go directly to a skillet or steamer directly from frozen to be reheated until soft and heated through.
Dry Pita Bread
If the Pita Bread is really dry, wet the bread a bit before pan frying or place into a steamer to reheat. This will add water to the bread softening it up while reheated.
Recipes with Greek Pita Bread
Traditionally sliced in four triangles and served on the side with various Roasted or Grilled Meats and Vegetables with various dips like Tzatziki or Hummus. It is also used as a wrap for Gyros, Souvlaki, and various other Kebabs & Doners. It much more durable than Pita bread and even holding up well with curries like Butter Chicken just the same as Naan Bread.
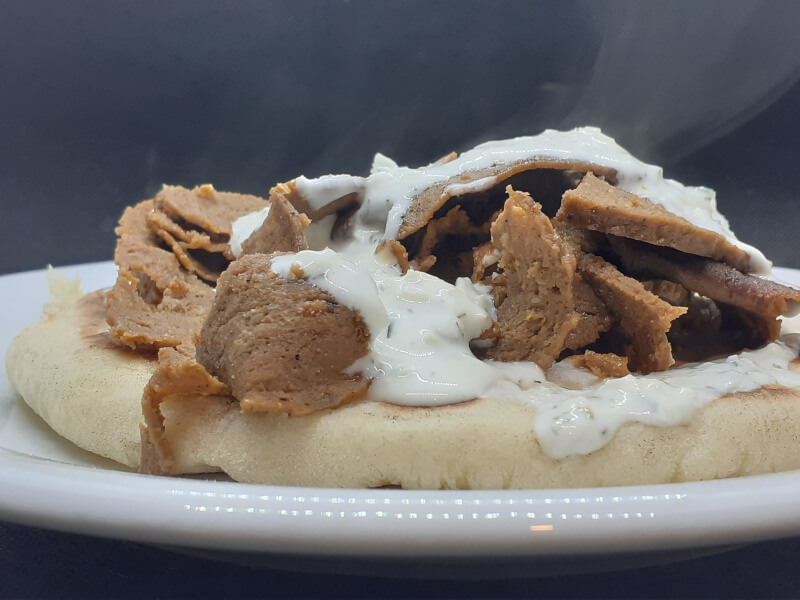
Gyros
Gyro Meat, or in this case Halifax Donair Meat on Greek Pita bread with Tzatziki.
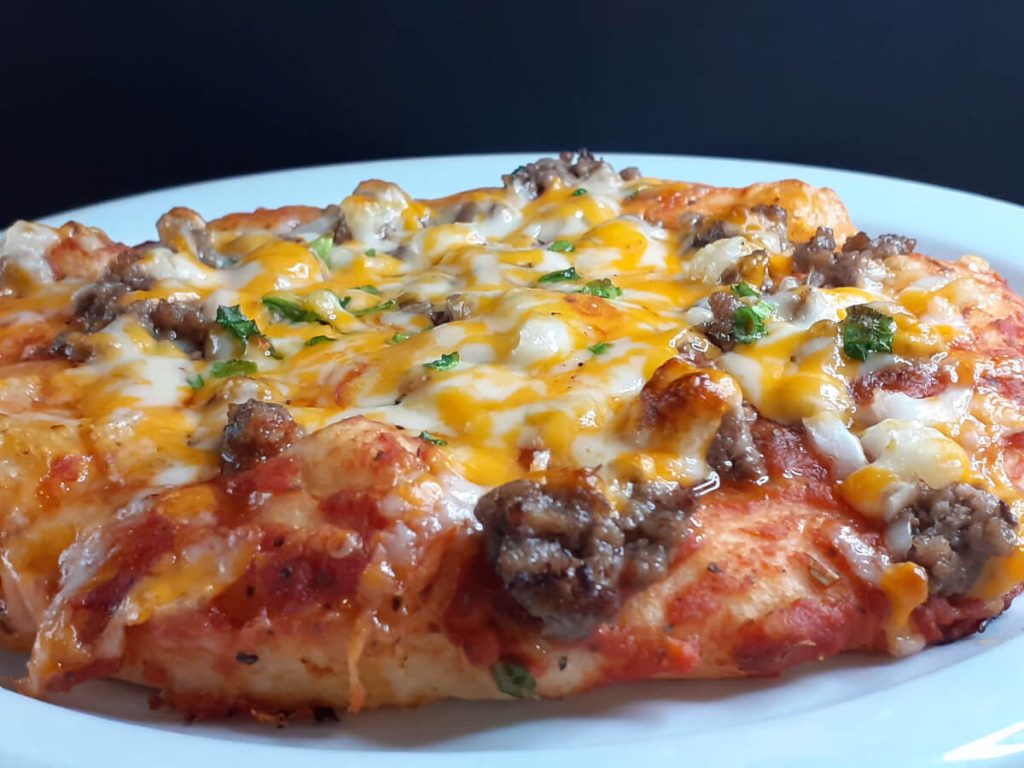
Pitzas
These are unbelievably good personal Pitzas! With a Soft Light & Airy Dough.
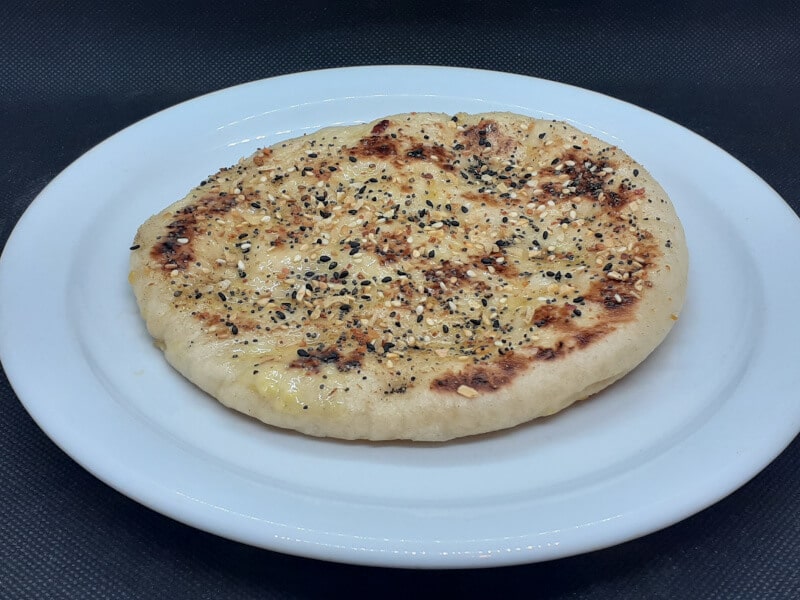
Seasoned Greek Pitas
Warm Greek Pitas in the Pan over mediuim heat and brush with butter. Top with Everything Bagel Seasoning for a wonderful breakfast or snack.
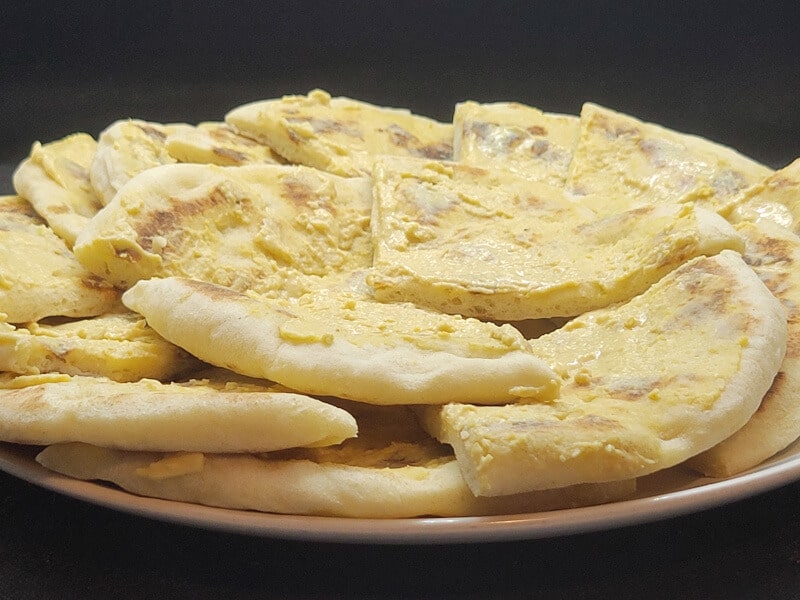
Greek Hummus Spread
Warm Greek Pitas in the Pan over mediuim heat and brush with butter. Top with Hummus for a wonderful breakfast, snack or as a side. You can top these with Everything Bagel Seasoning too!
Equipment
- 1 Mixing Bowl
- 1 Digital Scale
- 1 Baking Sheet
- 1 Skillet
- 1 Small Bowl & Brush
Ingredients
- 4 C Flour - plus more as needed
- 2 C Water
- 3 Tbl Sugar
- 1 Tbl Yeast
- 1/2 C Poly Flour
- 1 Tbl Sea Salt
- As Needed Extra Virgin Olive Oil - or Melted Butter for brushing
Instructions
- In a mixing bowl, combine Water, Sugar & Yeast with 2 cups of Flour. Whisk well and let proof for 30 minutes.
- Add in the remaining Flour, Poly Flour & Salt and mix again to create the Dough. Add more flour if needed to create a tacky dough. Cover and let proof until doubled in size, about 1 hour.
- Portion the dough out into 115 g dough balls and place on a baking sheet. Cover the baking sheet with plastic and let proof another 30 minutes.
- Heat a skillet up over medium heat for about 5 minutes.Meanwhile, on a well floured surface, flatten out each dough ball with the palm of your hand and transfer back to the baking sheet. Then take each dough and finger press out, transferring back to the baking sheet.
- When ready to cook, press out with your fingertips each dough to about 6 inches or a tad bigger. Shake off any excess flour and place into the skillet to cook until it starts to bubble. Flip and cook for about 1 minute or until browned, flip back over to finish browning the first side and cook through. Transfer to a plate and brush with Olive Oil or Butter and repeat for each dough ball. You may have to cook a bit longer or use a lid to trap heat in to ensure they're cooked through. You can tell by looking closely and seeing spots where the dough may not be cooked through yet.For even softer Pitas, stack them and keep covered with Tin Foil.

